

Mouse over to zoom in
46363.0
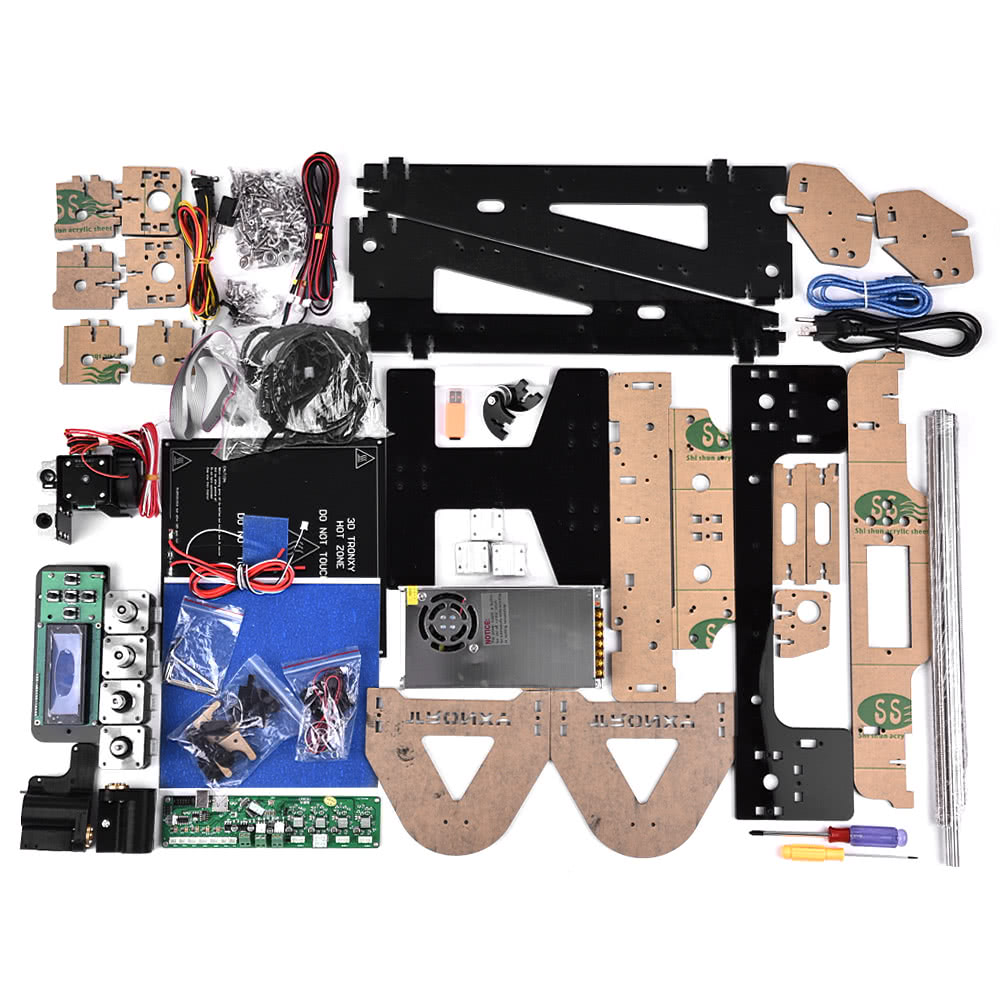
High Precision Desktop 3D Printer Kits DIY Self Assembly Acrylic Frame Reprap Prusa i3 with TF Card Max. Printing Size 220*220*240mm Support ABS/PLA/TPU/Wood Filament


Price:
JP¥
46363
Loading...
Ship to
plug:
if the goods arrival in 90 days,we will inform you by email!
Error appeared,Please try again later!
Questions & Answers
A Operating System: Windows/Mac/Linux,thanks.
A Yes,it is a high performance DIY 3D printer, 110/220V 20A power supply, allows on-line Print & off-line printing.
A It’s pleasant to tell you we could send this product to your country via our logistics process.So you could place your order with no worries.
A The manual is include
A 1.75mm
A No
Discussions
Please note that TOMTOP Forums are a community for all communicating and getting help each other. There will be some enthusiastic friends participate in your discussions. Of course TOMTOP customer service (with tomtop customer service icon) response is guaranteed ,which is the same way you contact us at http://www.tomtop.com/contacts
open this forum in full pageAverage Rating:
5based on 2 Customer Reviews
Share your thoughts with other customers and get Tomtop Points, the first 5 reviews get DOUBLE Tomtop Points!
Write a Customer ReviewBy Doke Scott
July 8, 2018
By R***u
September 18, 2017
I'm writing from Brazil. This is a free translation, but I hope you understand and forgive me the mistakes within the text.This is the first time I mount a 3D printer. I spent approx. 16 hours to complete the assembly.Some cables and wires must be connected previously, primarily the Z-axis motors.The instructions / assembly information are satisfactory at 70%.Before you screw the power supply to the structure, adjust the correct electrical voltage of your public electrical supplier (110V/200V).Use pasty grease to lubricate the bearings: Do this before inserting the 3-axis bars.Belts contain steel core. Have scissors strong enough to efficiently perform at least six cutting operations.Attach the belts with the motorcycle and bearings already installed. Cut only one end of the strap tightly, leave the opposite end with leftovers for later adjustment. For the final adjustment of the belts, loosen the motors and adjust the tension of the belts. Tighten the motors and naturally the belts will be tensioned.It was very simple to connect the cables and wires. The Melzi board contains properly named connectors. Some pairs of wires have the same color (Heat Bed, for example). If something does not work or does not move, it is because some plug is in the wrong connector or inverted.When connecting the power supply to the Melzi circuit board, pay attention to the wiring diagram of the power cables. The instructions are very easy and with calm there is no mistaking.The Melzi plate should be handled only by the edges, not toqye in its circuits. When tightening connections and screws, do not forcefully press the card.Belts contain steel core. Have scissors strong enough to efficiently perform at least six cutting operations.Attach the belts with the motorcycle and bearings already installed. Cut only one end of the strap tightly, leave the opposite end with leftovers for later adjustment. For the final adjustment of the belts, loosen the motors and adjust the tension of the belts. Tighten the motors and naturally the belts will be tensioned.Follow the instructions on how to level the print bed.Make successive tests until you find a satisfactory leveling - this is a detail that will require time and patience.The software part is well explained. The practice will make the user run the prints with tanquility.The first printed parts may scare you, understand that the engines are "hardened". Have the printer work to soften the motors (this can take two or three days).I am very satisfied with this project and I encourage everyone to try this.


